X11 with Windows Subsystem for Linux
- Jason Mercer
The purpose of this page is to provide Windows Subsystem for Linux (WSL) users guidance on how to use X Window System (X11; X) forwarding with Teton.
X11 is a great tool for interactively viewing R plots, dialogue boxes, etc. on Teton. Unfortunately, X11 does not work with WSL "out of the box." However, it is still possible to use X11 with WSL, with a couple of modifications. Thankfully these modifications are relatively easy to implement.
Approximate time to complete: 5-20 minutes.
This tutorial makes the following assumptions:
- You already have WSL installed. If you don't have it installed, please refer to the Using Windows Subsystem for Linux page.
- You are using Ubunutu (a version of Linux). Many of the commands and instructions will likely work on other distributions of Linux, but I have not explicitly tested these instructions for other distributions.
- You have a Teton account. If you do not have an account, then you will either need to be added to an existing project, or request a new project (with permission from your PI). For more information: https://uwyo.teamdynamix.com/TDClient/Requests/ServiceCatalog?CategoryID=3339
It is recommended that you read through the sections below before executing any of the instructions.
A comment on X11 servers/programs
To get X11 working, you need some form of X server (honestly, I'm not entirely sure what an "X server" is, but using one works). There are a couple of free options, but I'm going to focus on Xming (we will get to installing the program in a moment). I tried using Cygwin X, another X server program, but found the documentation and options a bit overwhelming and confusing. I thus abandoned Cygwin X for the much simpler Xming (simpler in terms of installation, at least). If you would like to add instructions for alternative server installations, feel free to do so. This is intended to be a living document.
Instructions
Part 1. Installing Xming
In this section, I will provide a step-by-step for installing the Xming program, which will act as our X server. Conceptually, it "looks" for graphical output from a Linux command (which WSL won't understand) and converts that output into something Windows can display.
- Navigate to the Xming web page: https://sourceforge.net/projects/xming/
- Click the download button (highlighted in red):
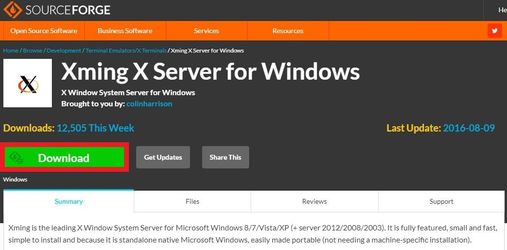
- Save the setup file to some convenient location.
- As of the creation of this tutorial, the setup file was called "Xming-6-9-0-31-setup.exe".
- I saved the file to my Downloads folder: "C:\Users\<My user name>\Downloads".
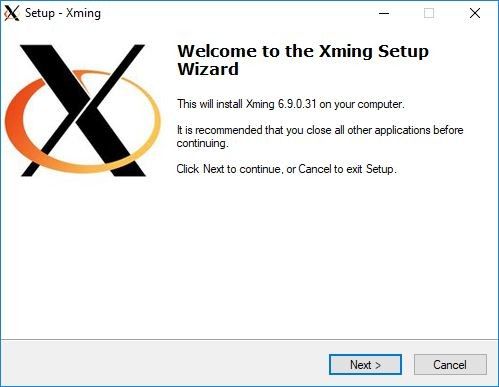
- Navigate to wherever you save the setup file and run said file.
- The first dialog box should look something like the image below. Follow the recommendation of closing all other applications. Click "Next".
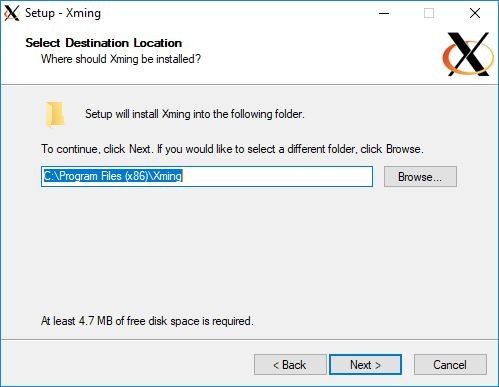
- Choose where to install Xming. The default is probably fine. Click "Next".
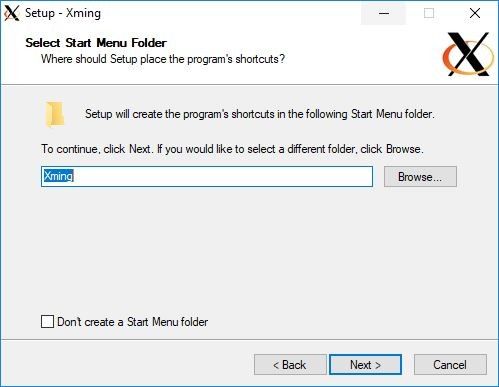
- Use the defaults provided in the window below, unless you really know what you are doing. Click "Next".
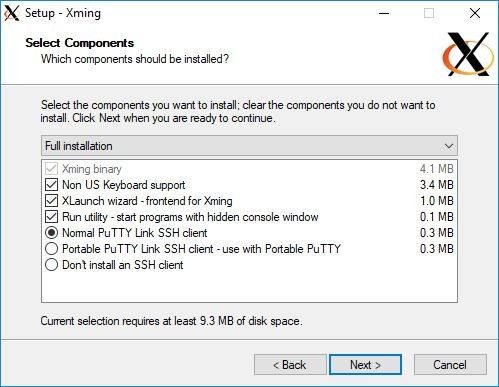
- Click "Next".
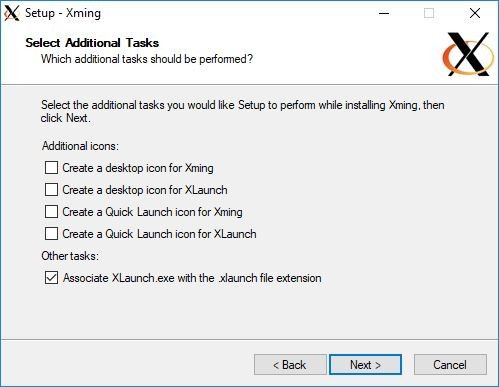
- If you want any of the desktop icons of Quick Launch icons, then select them. Click "Next".
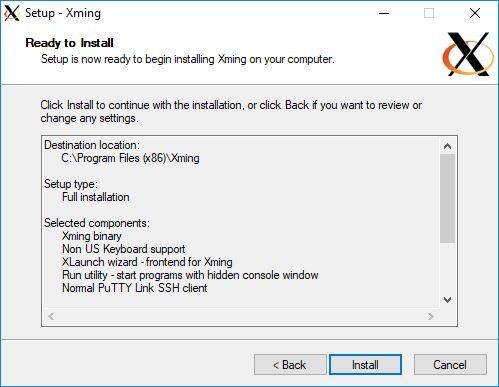
- Click "Install"!
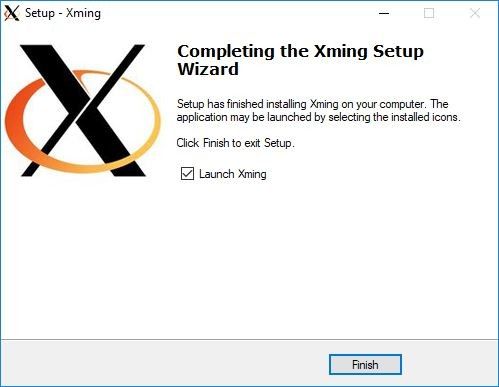
- Hopefully your installation went smoothly and you see the dialogue box below. Click "Finish".
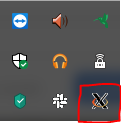
- You should now see the Xming Server in your system tray (highlighted in red). Whenever you want to use X11 forwarding, be it on your own machine, or with Teton, the server will have to be running. Also, you can quickly check the "address" of the server by clicking the system tray and hovering over the server's icon. In my case, the hover info reads: "Xming Server:0.0".
Congrats! That was probably the hardest part of this entire exercise.
Part 2. Configuring WSL to work with Xming
Now what we are going to do is make sure that sure that our X11 Server is properly configured to work with WSL. This means configuring our display.
- To avoid having to reconfigure our display every time we open WSL, we are going to modify our .
bashrcfile, which is loaded every time WSL is loaded (as far as I can tell). To do this, first make sure you are in your home directory, where the.bashrcfile is located:- If you aren't in your home directory, navigate to it:
cd ~ - You can make sure that the
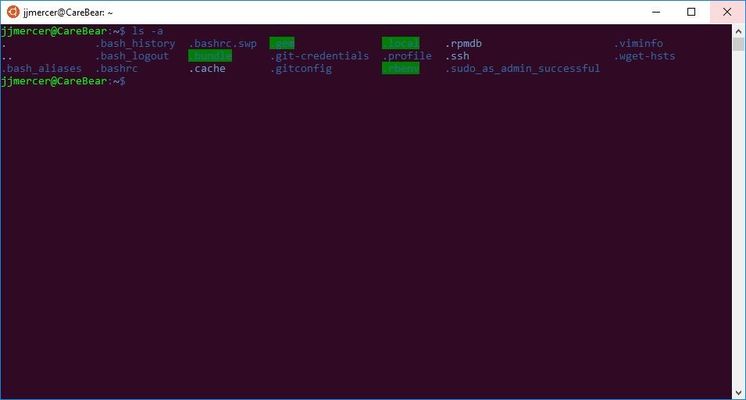
.bashrcfile exists by looking for it with the following command:ls -a - This is what my output looks like when I run the above command, from my home directory. You can see the
.bashrcfile on the third line of the output, so I know I can edit it.
- If you aren't in your home directory, navigate to it:
- To keep things succinct, we are going to directly insert a command into the
.bashrcfile with the following command:echo "export DISPLAY=localhost:0.0" >> ~/.bashrc- This command adds a new line to the
.bashrcfile before writing to it, so we don't have to worry about overwriting anything.
- This command adds a new line to the
That's it!
Part 3. Testing X11/Xming locally
Now we are going to test our X11 connection locally. To do that we'll download some extra X11 applications to run.
- Use the following command to download the X11 applications:
sudo apt-get install x11-apps- A break down of the above command:
sudo: This means either "superuser do" or "substitute user do". In essence, it is telling Linux your are running a command as a person of authority (e.g., an administrator).apt-get: "apt" is an acronym for "Advanced Package Tool". If you are familiar with R, it is kind of like using CRAN, but for Linux programs. "get" means you are tellingaptto either install or upgrade a package.install: Install a package.x11-apps: A bunch of X11 applications, which we are going to use to validate our X server is working properly.
- Note: I had to turn off my anti-virus software to do this command. Kaspersky doesn't like it when WSL accesses many parts of the internet (except Teton, for some reason...).
- A break down of the above command:
- Now, let's see what happens when we run the following command:
xeyes- Hopefully you see a pop-up window that looks something like:
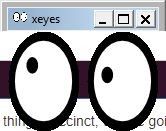
Note: While Xming is running you cannot do anything in WSL's terminal. That is, before you can execute any other commands, you have to exit out of xeyes by clicking the "X" in the upper right hand corner of the pop-up window.
- Now let's see what happens when we run the following command:
xclock- Hopefully you see something like:

Note: In this case you may get en error in the terminal to the effect: "Warning: Missing charsets in String to FontSet conversion". As far as I can tell, this warning is harmless.
Part 4. Testing X11/Xming on Teton
Alright, so now that we've successfully installed, configured, and tested Xming on our local machine, let's see if the setup works with Teton.
- Login to Teton, making sure you to enable X11 forwarding.
ssh -X <username>@teton.arcc.uwyo.edu
- Get off the login node.
srun --pty --account="<your project goes here>" -t 0-00:30 /bin/bash- Note: I've allotted myself only 30 minutes to test out this functionality.
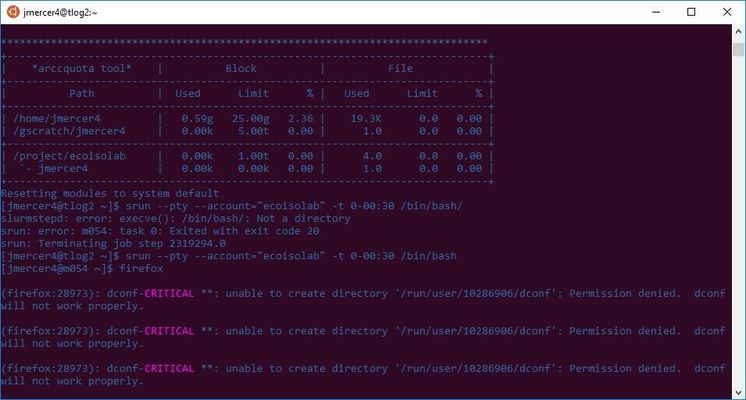
Firefox
- Let's try to open up Firefox from Teton via X11 forwarding with the following command:
firefox- You should get a browser window that looks something like:
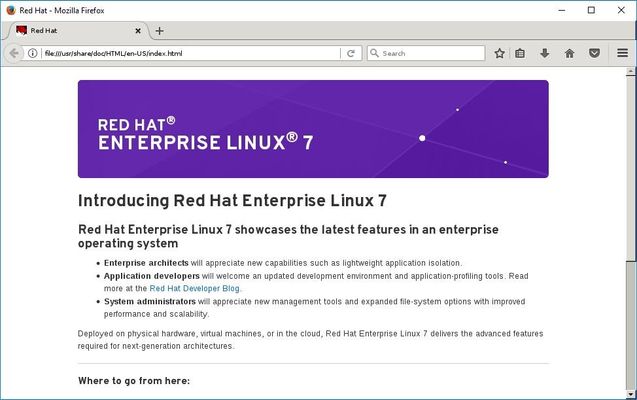
- So, that's really neat! However, you may also get a number of "CRITICAL" errors after calling Firefox (see example below). These errors do not seem important.
R
- Now let's see what happens when we try to interactively graph something in R.
- Load R:
module load r/3.5.1s - Load the mtcars data set:
data("mtcars") - Plot horse power against miles per gallon:
plot(mpg ~ hp, data = mtcars)
- Load R:
- Hopefully you get a pop-up window that looks something like:
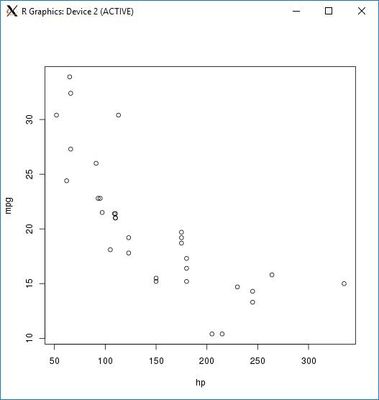
SWEET MAMA JAMA, IT WORKED!
You now have X11 forward setup for use with WSL.
Additional resources
Here are the main websites I used to develop this tutorial.
Related articles